whisk: peanut butter oreo brownies

In my office, I tend to be the person in charge of birthday celebrations (no surprise).  I tend to take advantage of these special occasions and use them as opportunities to try out my craziest recipes.  Today, I made these:

I had seen a photo of these on Pinterest but was unable to find a source website for this (if you know of one let me know and I will link back to it).  Essentially these are the easiest things in the world.  Here is what you need:

  • 1 box Brownie Mix (My favorite is Ghiradelli)
  • 24 Regular Oreos
  • Creamy Peanut Butter

Mix your favorite brownie mix according to the directions on the box and preheat your oven accordingly.  Then place paper liners in a muffin pan.  Spray with non-stick cooking spray.  Then sandwich two Oreos together with a decent layer of peanut butter between and on top of the cookie and place in the muffin pan.  Once you have assembled 12 oreo sandwiches and placed them in the muffin tin, take an 1/4 cup measuring spoon and pour the brownie batter over them until covered.  Then bake for between 20 – 30 minutes so that a toothpick comes clean when used to inserted into the brownie.

Happy Thanksgiving from both of us.  We hope that you have wonderful weeks filled with family, celebration and good food.  And don’t forget, if you need something to do with the leftover stuffing, consider our stuffing bread!

xo,

Katie

whisk: salted caramel ice cream

Last summer on a whim, I bought an ice cream maker. I previously had one back in the early 2000s but primarily used it to make pina coladas and had lost it in all of my moves.  So when I was in the store and found it on sale, I impulse purchased it.  One of the best decisions I’ve made in years.  I spent last summer playing around with different recipes and happened upon this one for Salted Caramel Ice Cream from Gourmet.  To this date, this is the best ice cream I have ever made or tasted.  The beauty of it is that it is a custard so its extremely creamy and there is just a hint of salt which really brightens the caramel flavor.  It’s reminiscent of the Baskin Robbin’s Pralines n Cream flavor.  Over the last year, I’ve continued to make it for special occasions and parties and it continues to be one of my most requested recipes.  I’ve mixed in pretzels and nuts, rolos and chips.  While it is a great base for other flavors, it truly is perfect on its own.

Salted Caramel Ice Cream
Gourmet 2009

+ 1 1/4 cups sugar, divided
+ 2 1/4 cups heavy cream, divided
+ 1 teaspoon flaky sea salt such as Maldon
+ 1/2 teaspoon pure vanilla extract
+ 1 cup whole milk
+ 3 large eggs

Start by making the caramel.  Place 1 cup of sugar in a dry skillet over medium to medium-high heat.  Stir with a fork so that the sugar cooks evening.  Then once the sugar starts to melt stop stirring and begin swirling the pan over the burner.  Once the sugar is cooked to an amber color, slowly add 1 cup of cream.  This will cause the sugar to solidify again, using your fork, stir over low heat until the ingredients are smooth.  This part can take up to ten minutes, just be patience.   Pour in a container, add the vanilla and let stand until it is room temperature. Once at room temperature, stir in the salt.  Maldon is my personal favorite for this.

Then in a heavy bottomed sauce pot, heat the remaining cream and whole milk until just a boil.  In a medium sized bowl, beat the three eggs until combined.  Then in a slow steady stream, pour half of the milk and cream mixture into the eggs stirring the entire time.  This is to bring the eggs up to temperature of the milk so that you don’t end up with scrambled eggs.  Then add the egg and cream mixture back to the remaining milk and cream mixture and over medium heat, stirring constantly, until it reaches about 170°.  If you go over 170°, you will have scrambled eggs.   Once the cream mixture is at 170°, remove from heat and pour through a fine mesh sieve into a bowl.  Stir in the caramel mixture and chill for at least 3 hours if not overnight.  Once it has chilled, pour into your ice cream maker and stir for 30 minutes or until chilled.   Refrigerate or serve immediately.

xo,

Katie

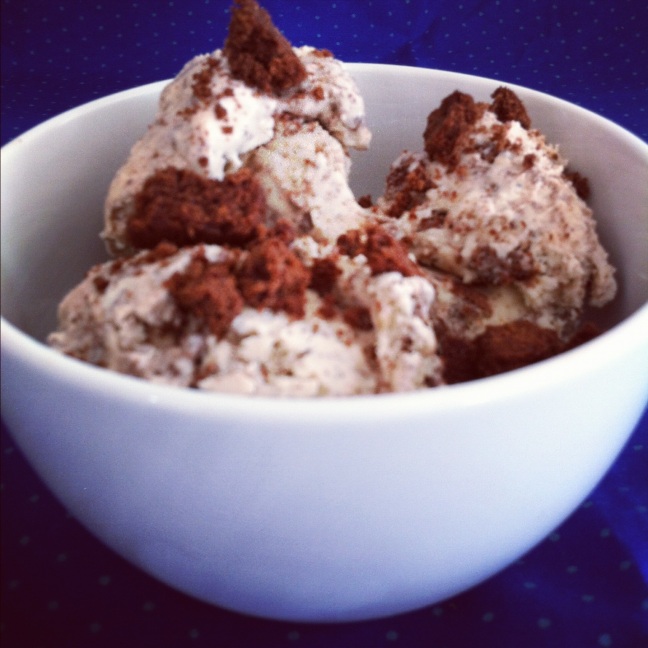
whisk: deconstructed ice cream sandwich ice cream

If you follow us on Facebook, you saw my post earlier this week about this great article on Brooklyn’s Ample Farms Ice Cream.  What an inspiring story for anyone thinking of starting a small business, that if you work hard and have a good product, success is possible.  Of course, the article also talks all about the amazing flavors of ice cream that they sell and with my mouth watering, I decided that it was time to break out the ice cream maker.  At first I was going to make my favorite salted caramel ice cream and mix in some animal crackers but then I saw this post on Smitten Kitchen about homemade ice cream sandwiches and I knew I had to give it  a whirl.

But with a twist — I decided to make a batch of Vanilla Custard Ice Cream and mix in the homemade ice cream sandwich cookies.  At its core, this is really a Cookies n Cream ice cream but the cookies are better and what a treat, this is delicious.  And I’m now convinced that I should buy a cart and open an ice cream stand and take on Ben n Jerry’s!

Here’s the recipe:

Cookies
+ 1 1/3 cups all-purpose flour
+ 1/4 cup plus 2 tablespoons extra dark or Dutch-processed unsweetened cocoa powder
+ 10 tablespoons unsalted butter, softened
+ 1/2 cup granulated sugar
+ 3/8 teaspoons table salt
+ 1 large egg yolk
+ 1 1/2 teaspoons vanilla extract

High Altitude Adjustments:
+ 1/4 cup granulated sugar
+ 1 large egg (both white and yolk)
+ Increase oven temp to 375ºF and decrease cooking time to 14-16 minutes

Ice Cream
+ 2 vanilla beans
+ 3 cups heavy cream
+ 1 cup whole milk
+ 1 1/2 cups sugar
+ 3 large egg

Special Equipment
+ Ice Cream Maker
+ Candy Thermometer that goes to at least 170°F.

The Steps

1). Make the cookies

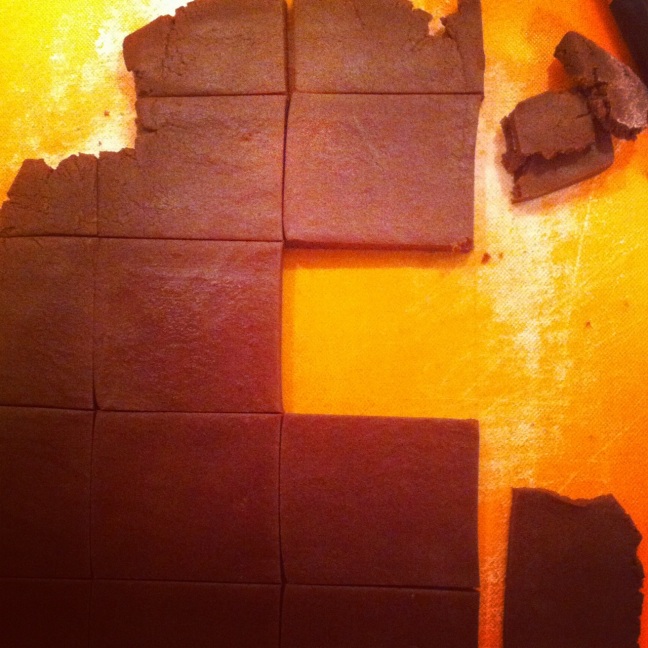
Preheat oven to 350°F.  Line a sheet pan with silpat or parchment and set aside.  Then sift the flour and cocoa together in a bowl and set aside.  In your mixer, cream the butter, sugar and salt until fluffy (beat them on medium high for 2-3 minutes).  Add the yolks and vanilla and mix until combined.  Then add the flour mixture in three parts mix until combined each time and scrap down the sides.   When the dough is mixed, remove and form into a disc.  Chill for up to 10-30 minutes until it is firm enough to roll out.  Remove from fridge and transfer to a lightly floured surface.  Roll out and cut into rectangles.  Try to make them even but they don’t need to be perfect as they will be crumbled once cooked.  Place on the baking sheet and cook for 16-18 minutes.

2). Make the ice cream

Start with a knife and halve the vanilla beans lengthwise.  Scrape the seeds into a heavy saucepan and add the pods.  Then pour in the cream, milk and sugar.  Heat over medium heat until it has just come to a boil, stirring frequently and then remove from heat.  Make sure that the milk mixture is around 170ºF.  Stir to cool until it is 170, you don’t want it hotter than that or you will cook the eggs.

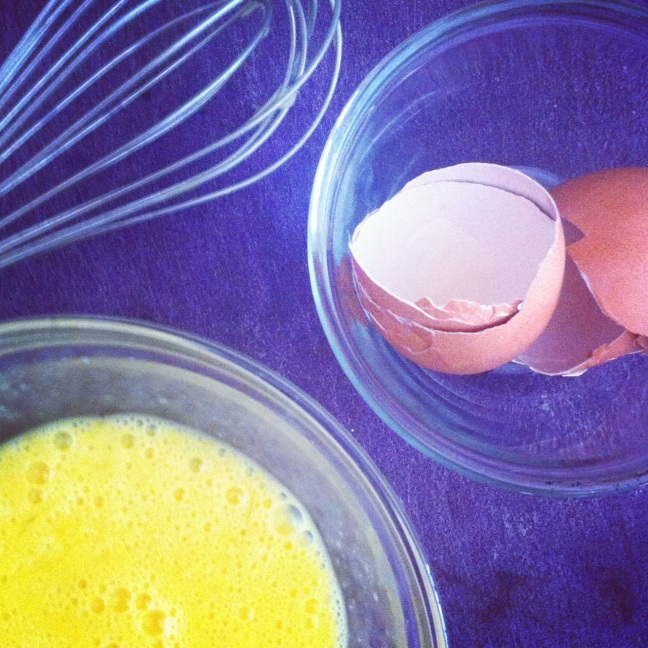
In another bowl, lightly beat the eggs and then pour the hot cream mixture into the eggs in a slow steady stream while whisking.

Then transfer back to the sauce pan and heat over low heat until the mixture is once again at 170ºF.

Then place a strainer or sieve over a clean bowl and pour the mixture through it.  Cover the custard with wax paper (press the paper to the surface of the custard) and refrigerate for at least 3 hours or overnight.  Once it is completely cooled, place into your ice cream maker and turn it on.

3). Mix to combine

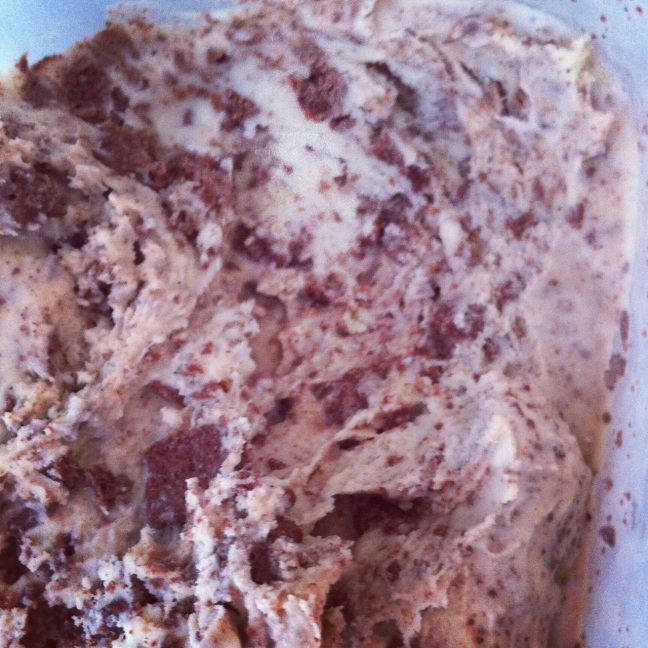
Crumble the ice cream sandwich cookies into bite size pieces.  Then about 20 minutes into the ice cream maker chilling process,  once the ice cream has the consistency of soft serve ice cream, stir in the crumbled cookies.  Once they are blended, stop the machine, transfer to a freezer safe container and freeze overnight.  This can be made up a week in advance.  Serve it up with additional crumbles if desired.

Imagine if you threw an ice cream sandwich in a blender, this is it.  Now do I have you dreaming of my ice cream stand?

Xo,

Katie

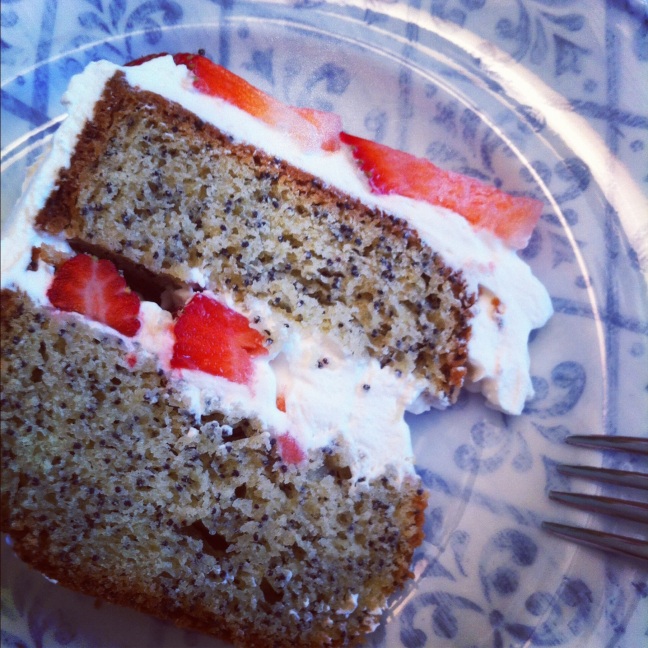
whisk: yogurt poppyseed cake with mascarpone frosting and fresh strawberries

The Denver Chapter of Junior League has been releasing cookbooks for the past 30 years and some of my best recipes are from them. This cake was first published in 1978 in their Colorado Cache cookbook and I’ve been eating it for as long as I can remember. As a child, this was the cake I requested each year for my birthday. My mother would make it for breakfast and serve simply dusted with powdered sugar. More recently, it has become my new tradition to serve this cake at Easter brunch. It is such a great cake, spongy, light, flavorful and yet not overly sweet, its more of a coffee cake than a sheet cake. The mascarpone frosting and fresh strawberries make this the perfect brunch cake.

Here’s how its made:

Yogurt Poppyseed Cake
From the Junior League of Denver, Colorado Cache Cookbook

1 c. plain yogurt
2 oz.(1/4 cup) poppy seeds
2 sticks (1 cup) unsalted butter
1 1/2 c. sugar
2 cups 2 tablespoons sifted flour
2 teaspoons vanilla
2 teaspoons baking soda
4 chilled eggs, separated

Start by placing the metal mixing bowl in the freezer for 10 minutes to chill. In the meantime, grease a tube pan or angel food cake pan, line the bottom with parchment and set aside. Preheat your oven to 375 degrees and then combine the yogurt and poppy seeds in a bowl and set aside allowing the seeds to soak while you start the cake. Separate the eggs and place the whites in the chilled mixing bowl and the yolks in a bowl in the side. Whip the egg whites until stiff peaks form, gentle transfer to a separate bowl and set aside. Clean the bowl and then cream together the butter and sugar beating until fluffy. Reduce speed and blend in the yogurt mixture and stir until combined. Add vanilla, flour and baking soda and stir until combined. Next, beat the egg yolks using a fork and add to the blender, mix until combined. Then slowly fold in the egg whites using a spatula. Pour the batter into the prepared pan and bake for 45 minutes until the cake bounces back when pressed down and the cake is starting to come away from the edges. Allow to cool for five minutes in the pan and then remove and set on a baking rack to cool completely.

Mascarpone Frosting
1 c. heavy whipping cream
8 oz. mascarpone cheese
1/2 c. powdered sugar
1 T vanilla extract
1 quart of fresh strawberries

In a clean dry chilled mixing bowl, whip the cold heavy cream until soft peaks form. Add the mascarpone, sugar and vanilla extract and stir until just combined. Slice the cake in the middle and place the bottom on your serving dish. Spread about 1/4 of the frosting evenly, place sliced strawberries evenly around the frosting. Add 1/4 of the frosting and spread on top of the strawberries. Place top half of the cake and frost the top and edges with the remaining frosting. Decorate the top with the remaining strawberries and allow to chill for 30 minutes or so.


Slice, serve and enoy!

xxoo

Katie


whisk: peanut butter cup + brownies popcorn

As a kid, I loved Dairy Queen Blizzards (and their low fat sibling, the Breeze) There’s something so wonderful about blending your favorite things together. As I’m sure you’ve noticed by now, I have a tendency to do this with a lot of things (see crack brownies) and now with this — Peanut Butter Cup Brownie Popcorn. Popcorn, like rice krispie treats, will gladly take on the flavor of whatever you mix it with while adding its crunchy texture and shape. In this case, I combined it with peanut butter, chocolate, brownie mix and peanut butter cups. I made this intending to give it to family at Sunday’s Easter brunch but I, shamefully, am not sure there will be any left to giveaway… Here’s how it’s made:

Ingredients
+ 6 cups popcorn (popped)
+ 1.25 c. dark chocolate chips
+ 1.25 c. semi sweet chocolate chips
+ 1/3 c. creamy peanut butter
+ 3/4 c. brownie mix
+ 1 10 oz. bag of mini peanut butter cups (unwrapped)

Pop the popcorn using your preferred method. I have an old stove top whirly bird that I use but you could just as easily use your favorite microwave popcorn. Place the popcorn in a large bowl and set aside.

Combine the chocolate chips in a microwave proof bowl and melt in 30 second intervals, stirring in between. This should take about 2-3 minutes to melt. Do not overheat it, make sure you heat only until it is melted and smooth. Then add the peanut butter and stir until combined. You may have to microwave it for a few seconds to get it to melt (no more than 15 seconds).

Then 1/4 c. at a time, add the dry brownie mix. The key to this is that you want the chocolate to get thick but not gritty, you want it to remain smooth so you may not need the full 3/4c, use your judgement here.

Once mixed, quickly pour the chocolate over the popcorn and add the peanut butter cups. Using a set of tongs, toss everything together until the popcorn is coated.

Pour the popcorn out onto two sheet pans/cookie sheets and allow to cool until the chocolate hardens. I put it in the fridge for an hour or so. You want to wait until it is fully hardened before serving (if you can).

There you have it. The possibilities are endless here and if I do run out, I’m tempted to make a caramel corn with rolo batch for my family instead. Enjoy!

–kw

whisk: biscoff knockoff

Soooo, you guys know that I’ve been obsessed with Biscoff and apparently someone has noticed.  If imitation is the sincerest form of flattery then the folks at Biscoff should be just that.  Trader Joe’s recently released their own version of the spread and lucky for me, a good friend of mine just shared a jar with me.  He also, kindly, included a few of their chocolate bars filled with biscoff.  At first taste, the Trader Joe’s version is smoother and doesn’t have the same cookie flake consistency that can be found in the original.   This weekend I’m going to play around with the jar a bit and I’ll report back on Monday.  I can’t wait to see how it melts.

Have a great weekend!

Katie

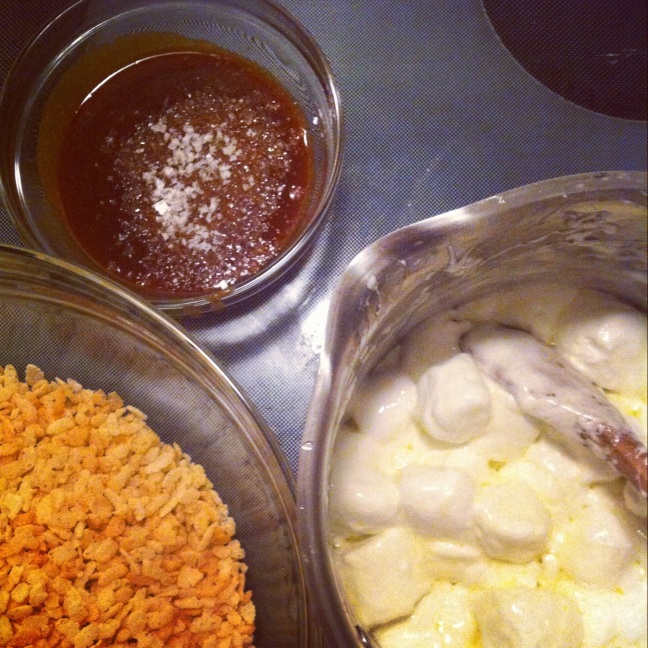
whisk: salted caramel rice krispie treats

When I was in college, I had a boyfriend whose southern grandmother would glaze her Rice Krispie Treats.  At the time, they were the best Rice Krispie Treats I’d ever tasted.  Last night, that all changed.  I made Salted Caramel Rice Krispie Treats.  These decadent treats are unbelievable.   As I’ve proved earlier, salty sweet is my favorite.  In fact, I tend to lean more towards salty than sweet with my cravings.  So to me, the addition of creamy lightly salted caramel takes what is already a great dessert and makes it delicious.

Here’s what you’ll need:
+ 1/2 c. sugar
+ 6 T unsalted butter
+ 1/2 c. heavy cream
+ 3/4 tsp of Maldon
+ 1 bag of marshmallows
+ 6 cups rice cereal (rice chex or rice krispies)

Start by making the caramel sauce.  I made my favorite caramel sauce (previously seen in the crack brownies).   Place 1/2 c. of sugar in a dry skillet over medium heat.  Stir with a fork until the sugar starts melting.  Then stop stirring and start swirling the pan until the sugar is melted and has an amber color.  Add 2 T butter and stir until melted.  Remove from head and add the cream.  Stir until cream is blended.  Pour into a bowl and set aside to let cool to room temperature.

In a large sauce pot, melt the butter of medium low heat.  Add the entire bag of marshmallows and stir until melted.  Pour the cereal into a separate bowl and add the melted marshmallows.  Stir until combined.  Then stir about 1 tsp of salt into the caramel and stir into the cereal mix until combined.

Press into a buttered and/or lined pan, cover and let set for a few hours.  Remove from pan, cut, serve and stand back.

xoxo

Katie

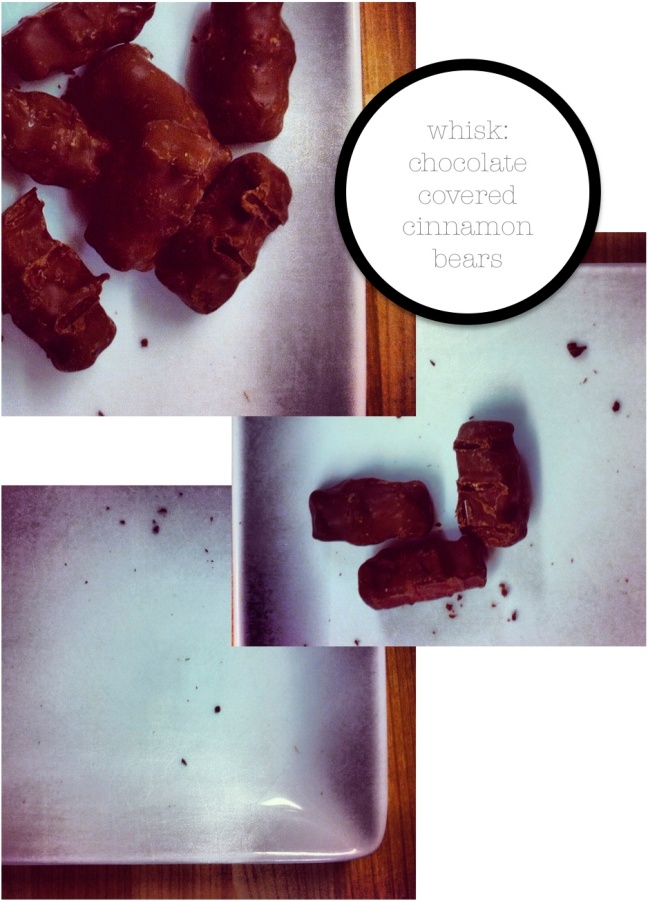
whisk: chocolate covered cinnamon bears

going, going, gone.
Chocolate covered cinnamon bears are my absolute favorite candy in the world. But I hate that I can only find milk chocolate covered in the stores. So the other night, on sugar craving whim, I decided to make my own using a combination of bittersweet and milk chocolate. After tasting these bad boys, I know I’ll never go back to store bought again.


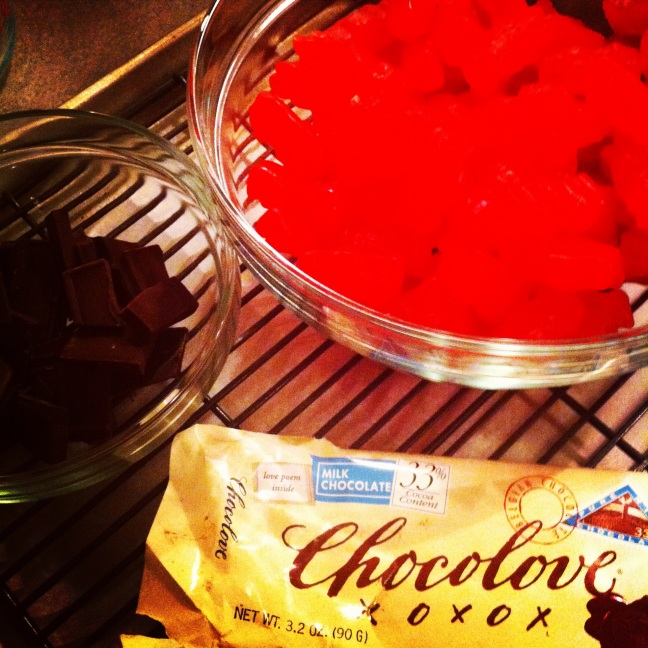
Here’s what you’ll need:
+ 8 oz. bittersweet chocolate (60% cacao)
+ 4 oz. milk chocolate
+ store-bought cinnamon bears
The key to this is tempering the chocolate, which essentially means, controlling the temperatures. So to do this, start by filling a pot with about 2 inches of water. Heat over medium heat until it just simmering. While the water is heating, take 4 oz. of bittersweet and 4 oz. of milk chocolate chop/break into pieces and place in a glass or metal heatproof bowl. Next, take a sheetpan/cookie sheet line it with parchment paper and place a cooling rack on top. Set aside.

When the water is simmering, remove from heat and place the bowl on top and stir with a spatula or metal spoon until it is just melted. Remove the bowl from the pan and stir in the remaining 4 oz of bittersweet chocolate. Stir until all the pieces are melted and then place back on top of the pot for about 30 seconds. If there are chunks, remove using your spatula or metal spoon.
Then about 10-15 at a time, add the cinnamon bears to the chocolate, roll them around until they are covered. With a pair of tongs gently shake the excess chocolate from them and place on a cookie sheet. Repeat until all of the chocolate is used and/or you are out of gummy bears.


Let the chocolate dry for at least 2 hours or overnight. Remove from the rack, serve and/or store. Consider yourself warned, these won’t last for long.


They are such a great combination of spicy with a hint of chocolate from the outer thin layer, I’m almost tempted to buy an enrobbing machine and open a sweet shop. I made about 4 dozen of these in 30 minutes on Tuesday night and 24 hours later, they were gone. I will admit that I took down my fair share of these bears and I’m nervous psyched to try others. I’m wondering if Sour Patch Kids can stand up to the heat of the chocolate and red swedish fish. I’m sure I’ll be back to share those results. In the meantime, melt some chocolate and share these with someone you love.

xoxo,
Katie

whisk: biscoff and dark chocolate ice cream

Even though this week in Colorado its so cold that we aren’t even expected to break 40, I’m on an ice cream kick.  I’m blaming it on my obsession with Biscoff spread.   Since my first taste of it I’ve been wanting to make ice cream with it.  Just imagine it on a piece of Apple pie, perfection.  As we’ve previously discussed, Biscoff is not like a fatty nut butter or even Nutella when it melts and then cools.  It has a tendency to form into chunks, so for the ice cream, I borrowed the Biscoff ganache method and folded that into vanilla ice cream along with some crushed up Biscoff Crackers.  I have been getting some questions on where to buy Biscoff, I’ve found it at my local Cost Plus World Market but they have a great store locator here on their site.

If I can be so bold, you should run out to get some because OMG you guys this ice cream is to DIE FOR.

Here’s what you’ll need:
+ 1 c. whole milk
+ 2  c. heavy cream
+ 1/4 c. sugar
+ 3 teaspoons vanilla
+ 1/2 14 oz. jar of Biscoff Spread (you can guesstimate on this one)
+ 1/2 c. chocolate chips
+ 1/4 tsp. ginger
+ 1/4 tsp. cinnamon
+ Approximately 10 biscoff crackers, crushed.

1. In a heavy bottomed sauce pan, stir together 1 c. whole milk, 1 c. heavy cream and 1/4 c. of sugar.  Then heat to a simmer and stir until smooth.  About a minute.  Remove from heat and stir in vanilla.  All to cool to room temperature (about 30 minutes)

2. In a glass bowl over a double boiler or in your microwave melt chocolate chips.  If you are using your microwave, heat in 30 second increments stirring between each round.  This should melt in 2-3 minutes.

3.  In a mixer fitted with the whisk attachment, beat the melted chocolate and biscoff spread, whisk until combined.  Add remaining cup of heavy cream (make sure this is cold, fresh from the fridge), ginger and cinnamon.  Beat on high until soft peaks form.

4. Once the milk mixture is room temperature, pour into your ice cream maker and stir for 10 minutes.  Once you’ve reach a soft serve state, fold in the biscoff cream mixture.  Stir for another 5 minutes. Then pour in about 10 biscoff crackers crushed into small pieces and stir until mixed (about a minute).

5. Place in a freezer proof airtight container and freeze overnight.

Holy cow, this one is good.  It starts with a flavorful chocolate ice cream flavor and finishes with ginger, spice cookie.  It’s worth trying, let me know if you make it!

xoxo

Katie

whisk: sugar cookies

A couple of years ago, after a particularly hectic holiday season, I started sending valentines to my friends and family in lieu of Christmas Cards.   And because I’m always eager to share my latest baking successes with my friends and family, these Valentine’s usually contain some type of baked good.  This year, I’ve decided to go with good old-fashioned sugar cookies.

I have to say, the recipe that I am most frequently asked for is a good sugar cookie recipe.  My first response is always, what kind of sugar cookie do you like?  Because like Chocolate Chip Cookies most people fall into the soft and chewy camp or team flat and crispy.   For a long time I was a flat and crispy with butter sugar cookies being my go to recipe.  Then about a year ago I was in Ft. Worth and tasted a cookie from J. Rae’s Bakery and I immediately switched teams.  Then I set about finding a good soft and chewy cookie. I’m going to show you how to make both.

First up, the flat, flaky, buttery goodness of French Butter Cookies

French Butter Cookies
Recipe via Martha Stewart
1 cup (2 sticks or 16 T) unsalted butter, room temperature
2/3 cup packed light-brown sugar
1 large egg, room temperature
1 tsp. pure vanilla extract
2 1/2 cup sifted all-purpose flour
1 tsp. salt

Notes:
+ The recipe says that this makes 5 dozen, but I’ve never gotten more than 3 out of it… maybe I like my cookies thicker than Martha.
+ Since this recipe is really all about the butter, use the best that you can afford.  I found the Kerrygold at Costco of all places.
+ If you’re like me and baking at high altitude, you’ll be happy to know that you don’t need to make any adjustments to this recipe.

To make the cookies:
In an electric mixer with your paddle attachment, cream together the butter and sugar, beat on high until fluffy, about 2-3 minutes.
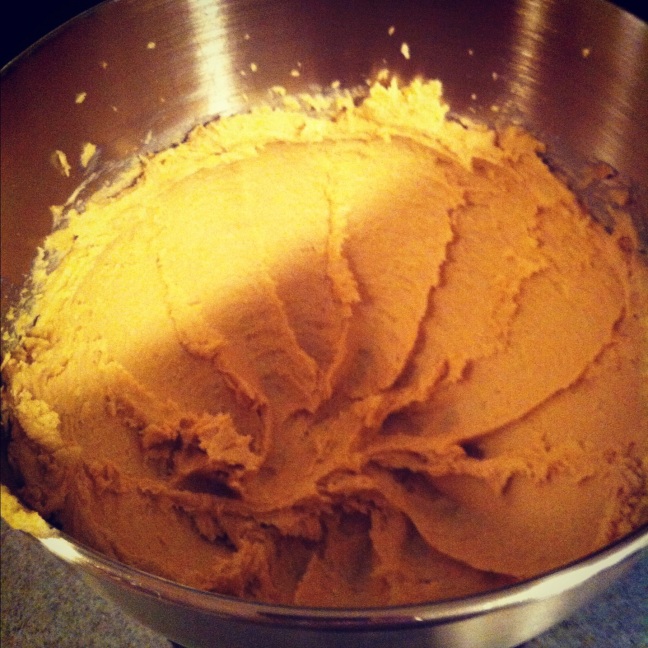
sorry for the shadow, but this is what creamed butter & sugar looks like when you are finished.

Then mix in egg and vanilla until combined.  Be sure not to mix this on high because it will spill over the edges of the bowl.  Sift together the flour and salt and add to the mix.  Stir on low-speed until flour is combined.  If you are going to make round cookies, then roll the dough into multiple logs (I usually make 4 so that they will fit into a gallon size ziploc bag).  If you are going to to roll them out, make four flat discs.  Place in a ziploc bag and refrigerated overnight.
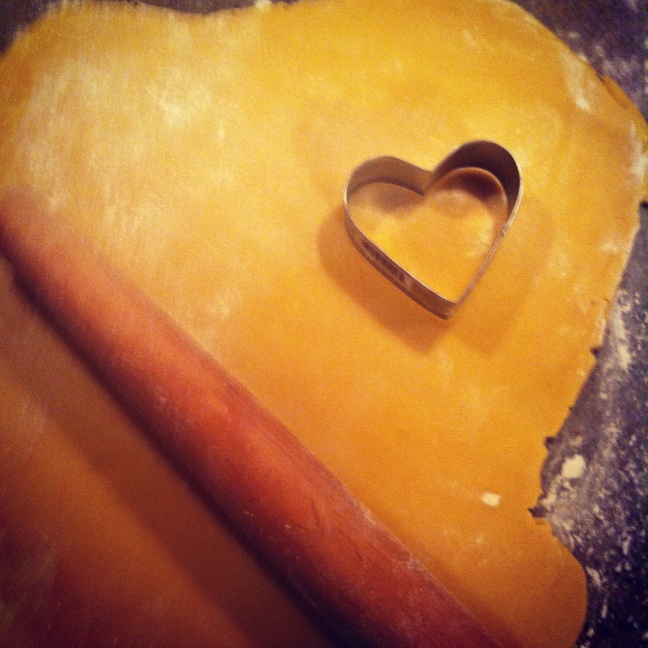
Heat oven to 350 degrees and line baking sheets with parchment or silpat.  Allow the dough to come to room temperature and roll it out.  Be sure you are working on a clean surface and lightly flour it before rolling the dough. Cut using a cookie cutter and place on the baking sheet.  Bake for 15-20 minutes rotating the pan in the oven halfway through.  Allow to cool on a rack.  Set aside until ready to frost.

For the softer, chewier cookie, Old Fashioned Sugar Cookies
via Pie in the Sky

Ingredients (sea level)
1 1/2 sticks (12 T) unsalted butter, room temperature
1 cup granulated sugar
2 large eggs, room temperature
1 teaspoons vanilla extract
2 3/4 cups all purpose flour
3/4 teaspoon baking powder
1 teaspoon salt

Notes:
+ This makes about 50 cookies.
+ High Altitude Adjustments: Increase vanilla to 2 teaspoons, decrease baking powder to 3/4 teaspoons

To make the cookies:
In a mixer with a paddle attachment, cream together the butter and sugar.  Beat until fluffy, about 2-3 minutes.  Then beat in the eggs and vanilla.  Scrape the bowl down and sift in the flour, baking powder and salt.  Mix on the lowest setting until combined.  Divide the dough into four discs and chill for at least an hour or overnight.

Preheat the oven at 350 degrees.  Lightly flour your clean working surface (I used my counter) then roll out the dough using a floured rolling pin.  Cut shapes using a cookie cutter.  Place on cookie sheets lined with parchment or silpats.   Bake for 8-10 minutes rotating the pan in the oven halfway through.  Allow to cool on a rack.  Set aside until ready to frost.

I like to ice these with Royal Icing, this recipe makes enough to frost about 50 cookies:
1 cup + 2 T powdered sugar
3 3/4 teaspoons of meringue powder
1/4 c water or milk
1/4 tsp. almond extract (optional)

Combine in a mixer and beat on low-medium speed for about 10 minutes.  Add food coloring and use a knife to frost the cookies.

On Monday I’ll show you a fun way to package your valentines.  Do you have a favorite sugar cookie recipe?

xoxo

kw